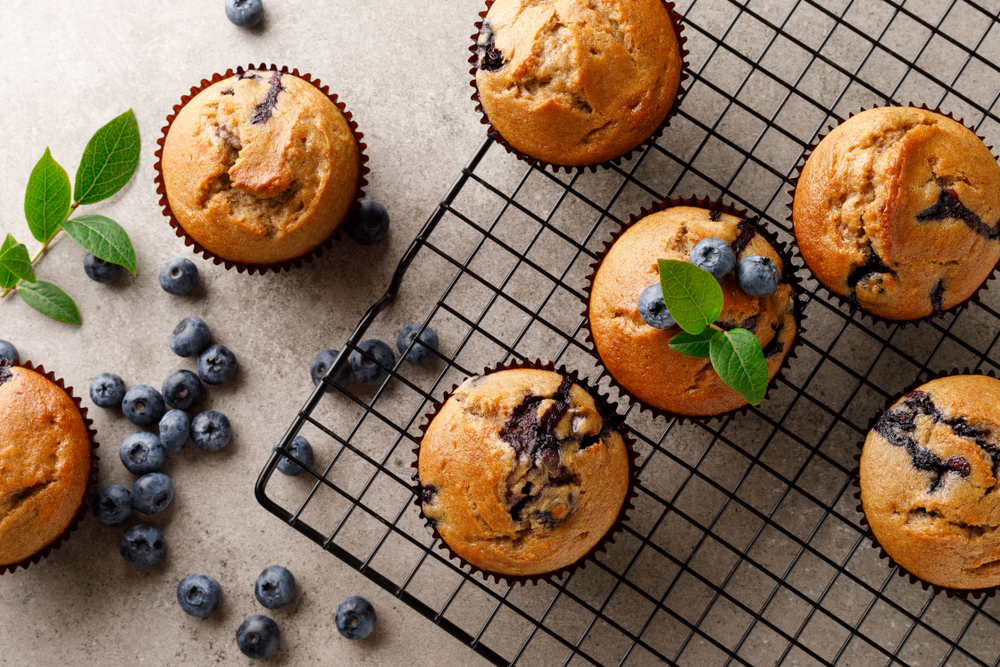
Looking for the perfect blueberry muffin recipe?
Well look no further!
This recipe uses fresh blueberries and sweet vanilla bean sugar, it’s perfect to serve at brunch or a family breakfast.
So sit down, read up, and get ready to learn how to make the best blueberry muffins.
Materials:
- Oven at 375 degrees
- Muffin tin lined with 12 paper liners or silicone cups greased lightly with coconut oil (or butter)
Ingredients:
- 1 1/2 cups all-purpose flour*
- 2 teaspoons baking powder*
- 1/4 teaspoon salt (optional)*
- 1/4 teaspoon vanilla bean powder*(or 1 tsp vanilla extract)***
*Use organic or unbleached ingredients. If purchasing from a bulk bin, make sure you know the source.
*If you have a nut allergy, try using a substitute like 1/4 cup coconut flour or almond flour.
Directions:
- Blend together dry ingredients in a large bowl.
- Add wet ingredients and mix until blended, but do not over mix.
- Scoop batter into muffin cups (or spoon evenly into cups) to just fill each two thirds full.
- Bake for 20-25 minutes or until a toothpick inserted into a muffin comes out clean.
- Remove from the oven, and let cool completely before serving.
Baking Tips:
- For best results, use a silicon or parchment muffin pan. Don’t overfill the cups with batter; it will spill out and make your muffins tough to remove. Fill the cups just to 3/4 of the way full and check your batter before baking.
- To make vanilla bean powder, place your dried vanilla beans in a coffee grinder and grind them until they are a fine powder. You can also use this method to make cinnamon or ginger powder.
- Be sure to weigh your ingredients for the most accurate results. Adjust accordingly as needed.
- Muffins will keep for about a week at room temperature. For best results, be sure to store them in an airtight container.
- Store muffins in the fridge for up to 1 month.
These tips will help you when Making Blueberry Muffins:
1. Never over-mix the batter.
2. Always sift your dry ingredients into a large bowl before mixing them with liquids.
3. To prevent lumps and bumps, try using a spatula instead of the back of a spoon to mix.
4. Never use metal utensils to scrape the sides and bottom of the bowl. Substitute wooden or plastic spoons instead.
5. Always use fresh eggs.
6. Make sure the eggs are at room temperature before being added to the batter.
7. The larger eggs are, the thinner the batter will be after baking. Use a smaller egg if you want thick muffins.
8. To increase the size of your muffins, add some flour on top of batter before baking. Just use a little; that way the muffins won’t stick to each other and you’ll be able to pick them up easily with a spoon.
9. Remove muffins after they’ve cooled completely. If you remove them before they cool, the muffins can quickly become soggy.
10. To prevent sticking on the liners, line your tin with a cloth before pouring in the batter.
11. To keep muffins from sticking to the paper liners, grease the cupcake liners before pouring in the batter.
Conclusion
Take muffins out of pans when they are cool enough to handle. You can serve them immediately or store them in an air-tight container at room temperature.